Saturday, July 16, 2011

Solenoid Problem

A day after our first beer went into the fermenter we realized that there was another problem with our glycol system.  Originally, we thought the only problem was that we couldn’t get our tanks below 38 – 40 degrees in any reasonable amount of time.  However, we also found out that once we set our temperature control to the desired temperature it would continue to cool pass the point.

The way the system works is that once the temperature inside the tank reaches the set point programmed into the controller it should close, therefore preventing cold glycol from entering the tanks.  Once the temperature begins to rise, the valve will open again and allow glycol in to cool the contents of the tank. 

We had our first fermenter set at 64 degrees.  Once it got down to that temperature we assumed the valve would shut and cooling would stop.  When we came in the next morning our unfermented beer was sitting at 55 degrees.  For some reason the tanks continued to cool past the set point.  

We called some of the people that had been helping us with this problem.  They told us the most likely reason was that there was glycol getting past the solenoid valve.  They said it was possible that the valve was damaged during installation so we took it apart and check the condition.  What we found out was that the plumber, who had been causing all these problems for us already, installed the valve backwards.  

It’s easy to tell because anyone who understands how this system works knows that the glycol comes into the valve from the top and out through the bottom.  As you can see in the picture the “out” is on top and the “in” is on the bottom.  We checked and sure enough all the tanks were piped this way.  


We got someone in the next day to rebuild and reinstall all the valves properly and the problem was corrected.  Fortunately, we were able to warm up the tank back up to 64 and fermentation kicked in with in a few hours.  Since the other two tanks were still empty we didn’t have to worry them. 

Unfortunately, that didn’t solve the problem of getting the tank down below 38, but at least we fixed one of the major issues.       

Wednesday, July 13, 2011

First Batch

After a couple years of planning and eleven months in our building we finally brewed our first batch of beer today.  The first beer we brewed was a Belgian-style Single that will be our summer seasonal.  

As we expected it was a marathon brew day as we got familiar with the new equipment.  The major slowdowns were a grain mill that got seized up as we were adjusting the speed of the mill and the auger system.  We had to unload some grain and start again which killed some time.


The other major delay was a very slow, three hour run off from the mash tun.  Once we got to the boil everything we pretty straight forward.   


Other than that it wasn't too bad for a first brew.  We mostly reach our expect volume and at the end of hit our original gravity for the beer so we were happy.  We plan to brew two more batches later this week.


We are still have some issues with our glycol system, but we think it still has some air in the system which should bleed out over time.  The tanks have no problem maintaining temperature between 40-70, we just can't get below 40 yet.  Once the air is flushed out of the system we believe it will work as designed.

Thursday, July 7, 2011

Glycol System Down

While we were waiting to get our brewing license from the NJ ABC we cleaned and passivated our new stainless steel fermentation tanks.  After that we decided to fill the tanks with water to test how fast they cooled down to conditioning temperature so would have an idea of cooling rates.  We had started up the chiller before to test it, but once it seemed to be working fine we shut it down.  We ran the chiller over night, which was the first time we left it running for any length of time.  

When we came back in the morning the chiller had tripped a low pressure setting and stopped working so our tanks never got cold which clearly indicated a problem with the system.  We spent the next few days working on the phone with the chiller manufacturer, our equipment supplier and neither had any idea what was causing the problem.  We kept trying solutions but the pressure would always drop tripping the cut off before we would get the temperature down.  Finally we narrowed the problem down to an issue with the flow. 

While we were trying to solve this problem, we got the word from NJ ABC that we could start brewing.  So now we were officially able to brew but couldn’t until we fixed this issue. 

We called in a refrigeration specialist down to see if he could troubleshoot the problem.   He thought it might be a faulty valve so we replaced it in the hopes that it would fix the problem. It helped, but unfortunately the flow rate was still restricted enough that the system wouldn’t work.  

On top of that it was a holiday weekend, so we had to wait until Tuesday to try anything new.  We were told to try and bleed some air out of the system over the weekend and that may help.  By Tuesday the system still wasn’t working right.
    
After checking every part in the chiller unit and finding nothing wrong we decided that the restriction had to be from too much air trapped in the pipes.  We decided to add another air eliminator to the other part of the piping where the air seemed trapped to increase the flow.  Once we added that, it allowed the air to slowly drain from the part of the system that it was trapped in and the tanks began to cool a bit.  

Ultimately the problem was poor piping layout and a faulty start up, both handed by our plumber / steam guy.  When he built the system he put in a ton of unnecessary elbow and turns where air could get trapped and when he started it up he didn’t flush out the air before filling it with glycol.  This caused large amounts of air to get caught in the jackets and piping.

Once the additional eliminator was added the chiller started working great, but now we have to wait for all the air to drain out of the system and see if the problem corrects itself.  

Wednesday, July 6, 2011

Drive In Cooler

The other massive project we tackled while we were working to get the brew house up and running was construction of our walk in cooler.  We pretty much bought the largest cooler we could afford and that would fit into our space.  The reason we wanted a larger cold space is that since we are self-distributing our beers we will be storing them until on site until we deliver them to retail accounts.  Since we won’t be shipping our kegs off to a distributor in bulk once they are packaged we wanted a large enough space to keep all our beer stored cold.  We also wanted to have enough space to properly age some kegs and / or barrels.  

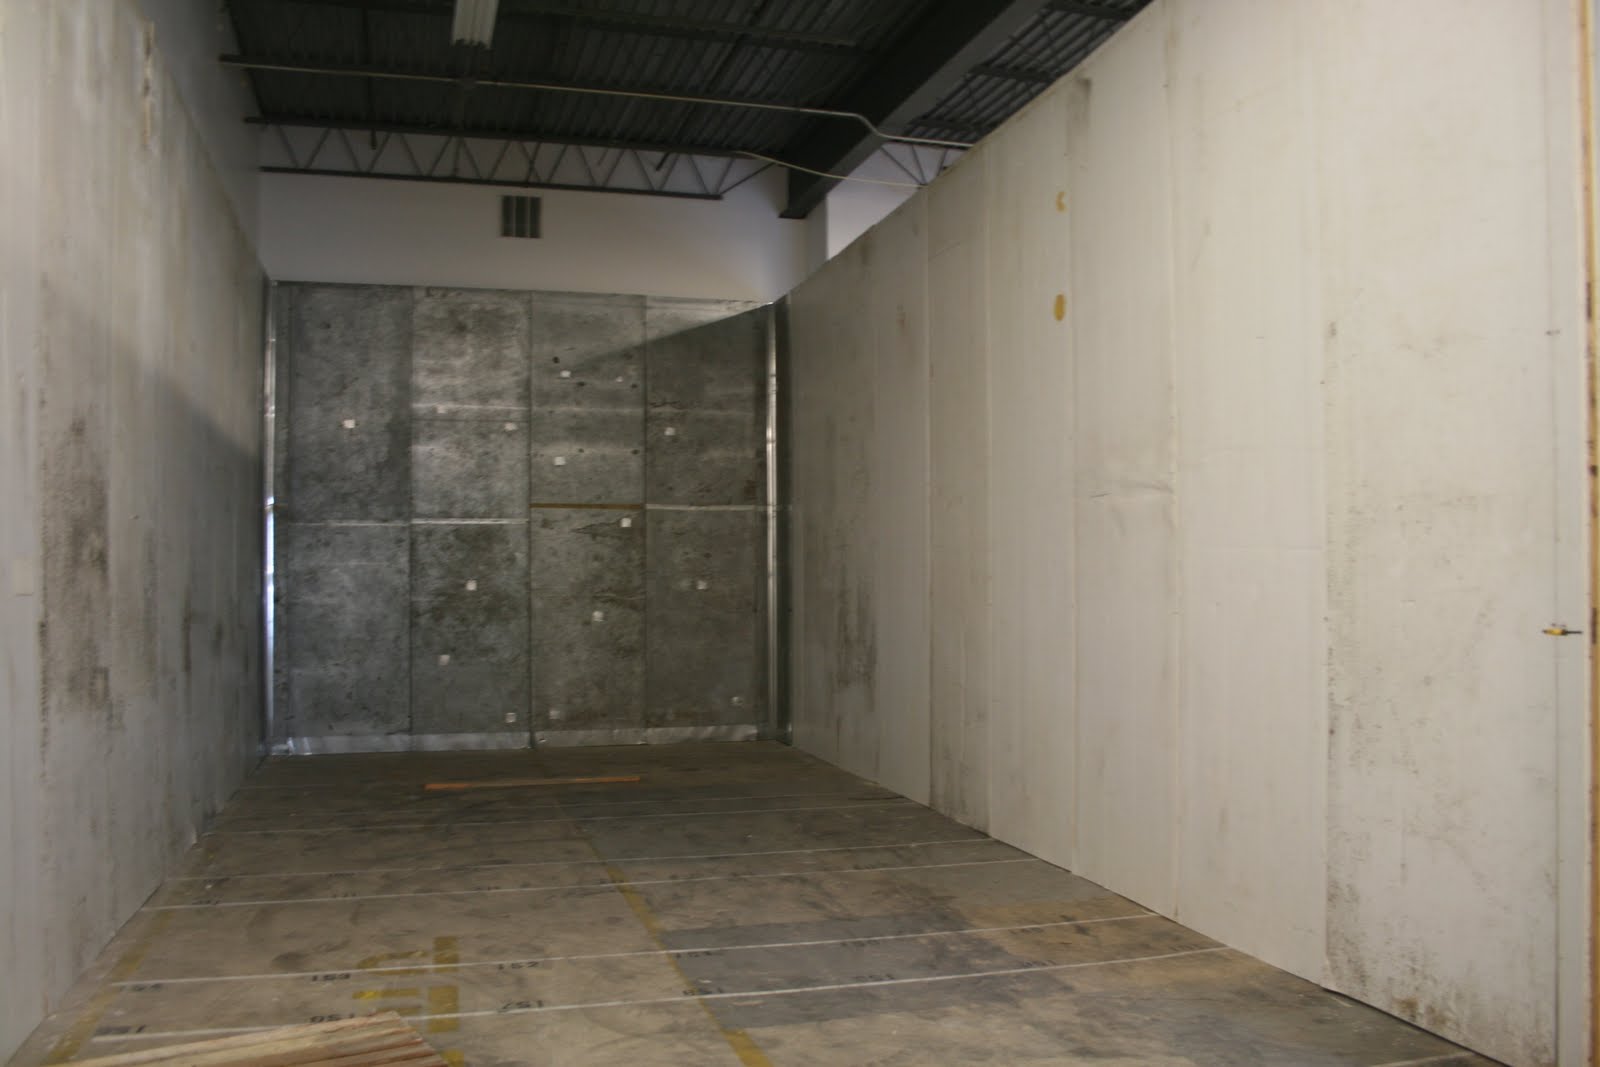
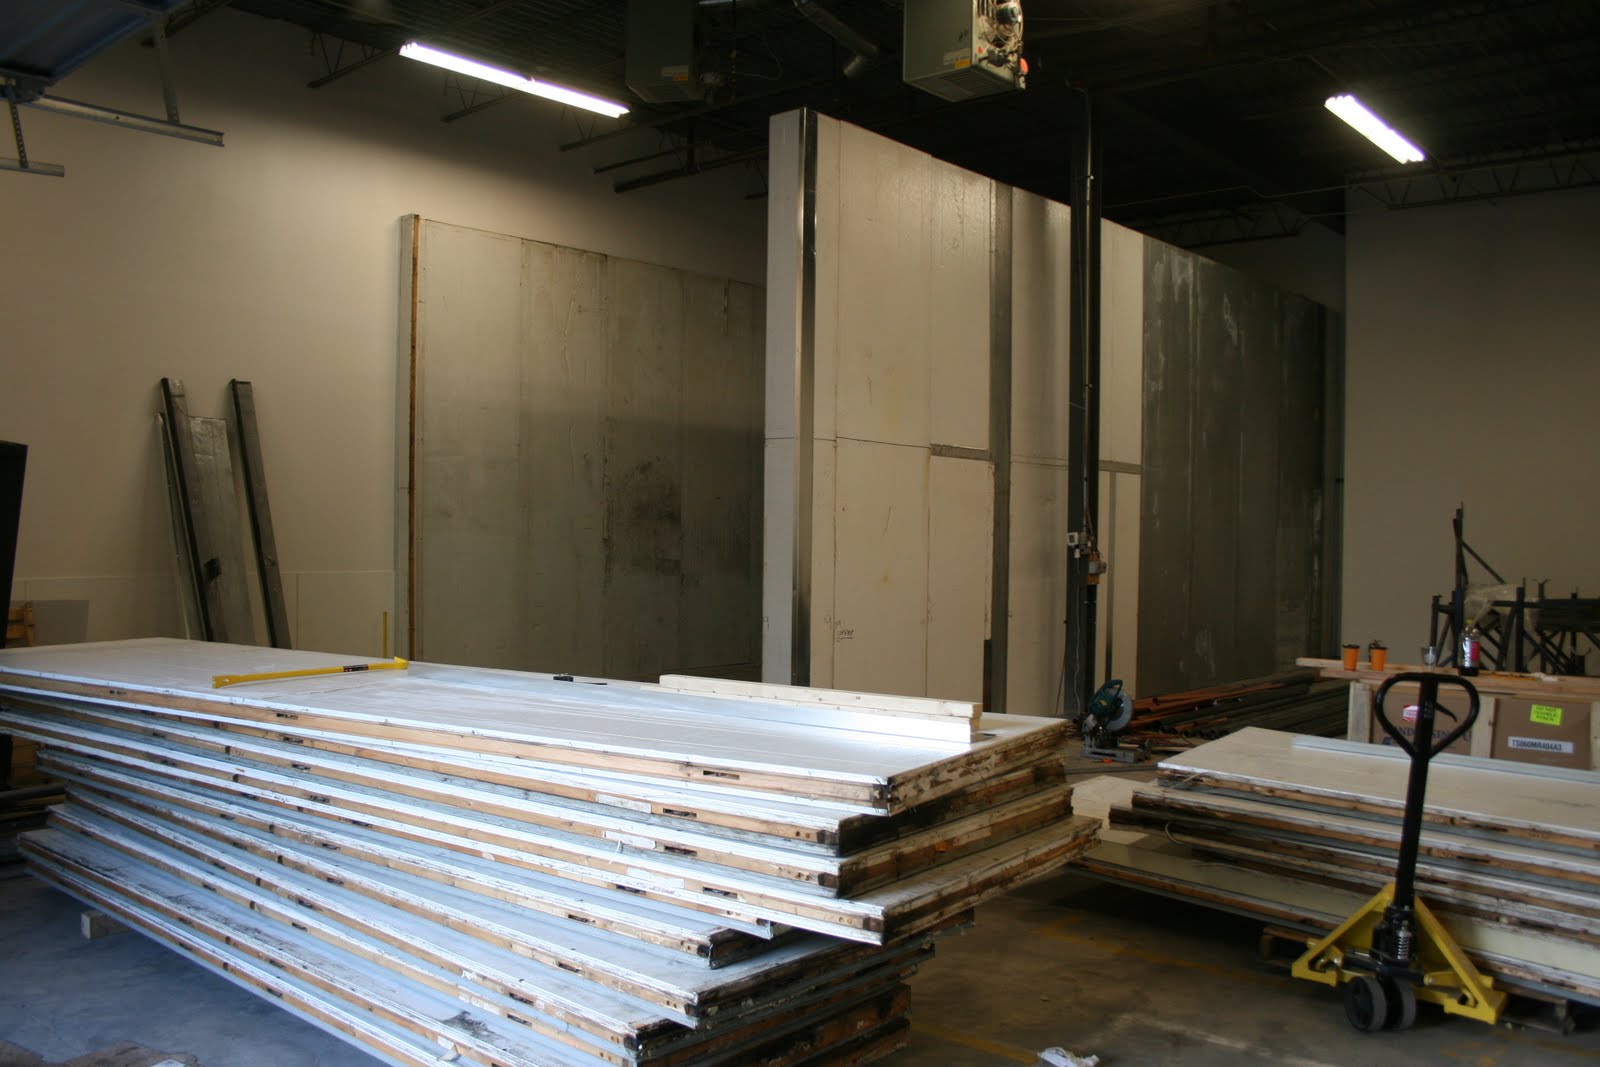
We ended up getting a used box that was 36 feet long, 18 feet wide and 16 feet tall.  It’s about 650 square feet of cold box goodness.  We realized once it was up that it was larger than the last apartment my wife and I shared in the city by about 150 square feet—and we lived there for five years.  It should be a good home for our kegged beer, hops and anything we plan to age.  Since we bought it used, it was delivered to us as a stack of loose panels in the back of a tractor trailer.


It took us about three hours to get the massive 8x8 door and about forty 16x4 panels unloaded by hand off the truck.  At least this gave the driver a chance to take a nice afternoon nap in the cab.   


As you can see from the photo organizing the panels happened another day. Getting the box built was one of the more difficult things we had to do.  We were told the box is self supporting and that each panel locks into the one next to it.  It’s true that the panels lock into one and other, but that’s only true if the locks work.  It also seemed that it would be better to add some type of support to hold the roof up.  This ended up taking the most time.  

We started by getting the three walls built, then we planned to add the roof, then the front with the door.  The cold box doors supported by our warehouse walls were not that difficult to get up, but the free standing walls were a little more difficult. 


Because the panels are 16 feet tall they were difficult to stand up and get into place without tipping over.  Again, the forklift was crucial in getting these into place. 


After getting the outer walls built we lifted the ceiling panels on with the forklift.   We chose to support them with threaded rod and unistruts from the existing roof but this took a while

.  


Once we finally got the ceiling on, we needed to cut a few panels to build in a space for the door then hang the surprisingly heavy sliding door on the tracks.  After that we brought  in a refrigeration guy to hook the cooling unit up and we were on our way. Two quick coats of white paint and the box was finished.  

Tuesday, July 5, 2011

Construction Completed

We spent the last month working with contractors and our DME representative to get the brew house installed and connected to the required utilities.  The DME representative, Paul, showed up right before Memorial Day and was here for 10 days.  The plan was to have all the DME equipment set up and utilities connected to the equipment so that we could perform a test brew with water and check the glycol system before he left.

The way it usually works with these type of installs is that Paul plans to come to the brewery when the steam, electrical, and water is a few days from being finished so that he can answer any questions the contractors have about getting the systems hooked up to the brewing equipment then he will have a few days to test and troubleshot any issues before he leaves. We coordinated the timing of his trip with our contractors to make sure we would be able to get all this done in ten days.


The most complicated part of the install was getting the steam system for the kettle and hot liquor tanks up and running.   The steam guys started a few weeks before Paul got here so that they would be ready for the test brew.


The first few days that Paul was here we spent getting the tanks in their final positions and getting them level and running the pipe water, steam, and electrical to them.  Once that was done we could connect the stainless piping that connects the mash tun, kettle and pumps on the brew house.


Once that was done we spent some time getting the plates into the mash / lauter tun and getting the rake motor mounted on top. 


Next we worked on getting the grain handling systems set up.  We have an existing room in the warehouse that we were planning to use as a mill room to keep all the grain dust separate from the brew house and cellar.  We realized that we were going to have to raise the ceiling to get all of our equipment in there easily.

We moved our mill, grist case and augurs into the expanded room and got those running.  The way our systems works is that the grain is sent through the wall of the mill room, behind our fermenters along the side wall and over to the mash tun.  


We also finally got the town to sign off on the placement of the chiller behind our building.  So we got the concrete pad poured and got the chiller in place so that when they got around to hooking it up it would be ready to go.


About half way through Paul's time here we realized there was no way the company putting together the boiler and glycol system were going to finish as promised.  They were way behind on the boiler install so we decided that it was better for them to focus solely on the steam and not work on the glycol system at all. 

One of the major mistakes we made was hiring one steam fitting / plumbing company to do both.  They were hired to install the boiler, the domestic water service, and pipe and start-up the glycol chiller.  All things we were told they did numerous times.  At the outset of the project they told us two weeks for everything.  Almost immediately they were behind and never managed to get caught up.  

If we had use two different companies like we had originally planned, we could have had both set-ups going at the same time.  Four weeks in they hadn't finished the boiler or glycol.
 
With a lot of pushing they manged to get the boiler fired up around 7:00 pm the night before Paul was scheduled to leave.  Since the boiler was finally working we were able to fill the tanks with water to clean out the residual oils and dust and check the pumps and piping between the brew house.


After that we filled the hot liquor tank and kettle and made sure the steam was heating both.  We did an hour boil to check the evaporation rates and see how the boiler performed over time.  Since we didn’t have the vent installed yet because of on going delays, we were a little concerned about the steam in the warehouse—mostly making sure we didn’t set off any sprinklers from the heat.   


We opened all the doors and set up a few fans and that seem to take care of any potential issues.  By the time we cooled down the tanks and drained the water we finished up around 3 am.  


The other thing we found out was that our drain worked like a champ, moving water from three tanks out of the brewery with no problem.  Although, there were some minor issues that needed to be fixed, overall the steam system worked fine.

When Paul left we had a working brew house, but we still needed to get the chiller fired up.  It took another week or two for them to get the piping finished.  Once it was ready we spent the better part of a day trying to get the chiller started-up, but once it was up and running it seemed to be working just fine.  There were no leaks in the pipes and the glycol was cooling down by design.  Since we thought that system was working fine they brought in their insulation guy to finish the job.  


While they were insulating the pipes we needed to get some sprinklers moved and a few heads added by request of the fire marshal. When that was done we could get our final fire inspection.  We also managed to pass our final electrical, plumbing and construction inspections.  With that we were able to apply for our Certificate of Occupancy, which we received early last week.  Now that all the construction was completed and we satisfied all the requirements from the town, the only step left was getting our brewing license from the NJ ABC.

Sunday, May 22, 2011

Brewing Equipment In Place


Since all the work on the floor has been completed we can finally move the tanks into position.  We spent the weekend pulling the shipping cradles off the tanks and peeling off the plastic protective covering.  It's great to see all the shiny new stainless in its final location.  


The next few weeks should see a lot of activity around the brewery as we are getting closer to actually brewing.  The DME representative is coming out next week for 10 days to help with the final install and answer any questions the contractors may have regarding steam, plumbing and electrical.  If all goes well we should be in a position to test the operation of the equipment by the end of next week.

Saturday, May 14, 2011

Floor Covering


The urethane floor covering we decided to put in our brewing area was installed over the past three days.  It looks great and now we can finally get the equipment moved into place.  After watching their team install the product you can understand why it’s so incredible durable.  


Since the product is ¼ inch thick, the first thing they did was remove the top layer of the freshly poured concrete.  You might be wondering why we didn’t just pour the concrete a ¼ inch lower so we could skip this step in the first place.  We asked the same thing and were told that inevitably the concrete guys never get it right.  They said it works out better most times if you just pour the floor as designed then go back and remove the top layer.  They also needed to chisel out around the boarders and near the drain so the edges were not brittle.  So that was day one.  


The second day four guys mixed, dyed and hand troweled ¼ inch of this product over about 1,000 square feet of flooring.  The trick to this is following the gradual slope established by the concrete guys.  They also used the product to create a slope around the walls where we were unable to cut out the old concrete because we didn’t want to get to close to the roof support with the concrete saw and jack hammers.

Day three involved cutting in joints and filling in the seams and edges with some type of flexible sealant.  We were told to let it cure for about 24 hours before getting it wet and they recommended waiting about two days before putting heavy equipment like our tanks on it.  


The next day we hosed down the floor to see how well the water flowed to the drain and how slip resistant the floor was when it was wet.  They did a great job mirroring the slope of the concrete so the water didn’t pool and the surface was slip resistant but not so rough that we couldn’t get it clean.


Tomorrow we plan to get the shipping cradles off the tanks and move them into position on the new floor.    
       

Monday, May 9, 2011

Quick Update

We were able to track down a survey of the property from a company in Long Branch that did some work on this building in the early 1980s.  They were kind enough to give me a copy of what they had so that I could use that for the basis of our Minor Site Plan Application.  The engineers based their site plan on the survey data from that drawing and laid out where on the property we intend to install the unit.  I got the drawing from them yesterday and submitted the application with some pictures of the property and some data on the chiller itself.  I also found out that the meeting was moved from May 23 to June 8, so we won’t know officially if we can install it until two weeks later. 

We are still waiting for the fire suppression (sprinkler system) permit but these are the last two items we need from the town…for now. 

The FlowCrete guys are scheduled to start installing the floor covering tomorrow and the plumber is coming by the go over the work plan for the next few weeks.  We should be in a position to move the equipment into its final location this weekend and the electrician is planning to finish the main service by Monday.

We are still working to finalize the date, but the team from DME coming down to help install the equipment will probably be here at the end of the month.  We should be able to get the brew house functioning over the ten days they are here.

The condenser unit for the cooler arrived a few days ago and the box itself should be here early next week.  By then the brewing equipment will be out of the way so we can build that in place later next week.  The only piece of equipment we are waiting for is the keg washer and our 1/6 kegs—both of which should be here within a few weeks.     

Tuesday, May 3, 2011

Concrete Floor

We were able to arrange for the inspector to come by around 11:00 am to sign-off on the installation of the wire mesh and rebar dowels that were used to strengthen the concrete.   This helped move the project along because if we could not coordinate with inspector on getting him here the same day as the installation the concrete team would have to come back after it was passed and that would add at least a few days and additional costs. 


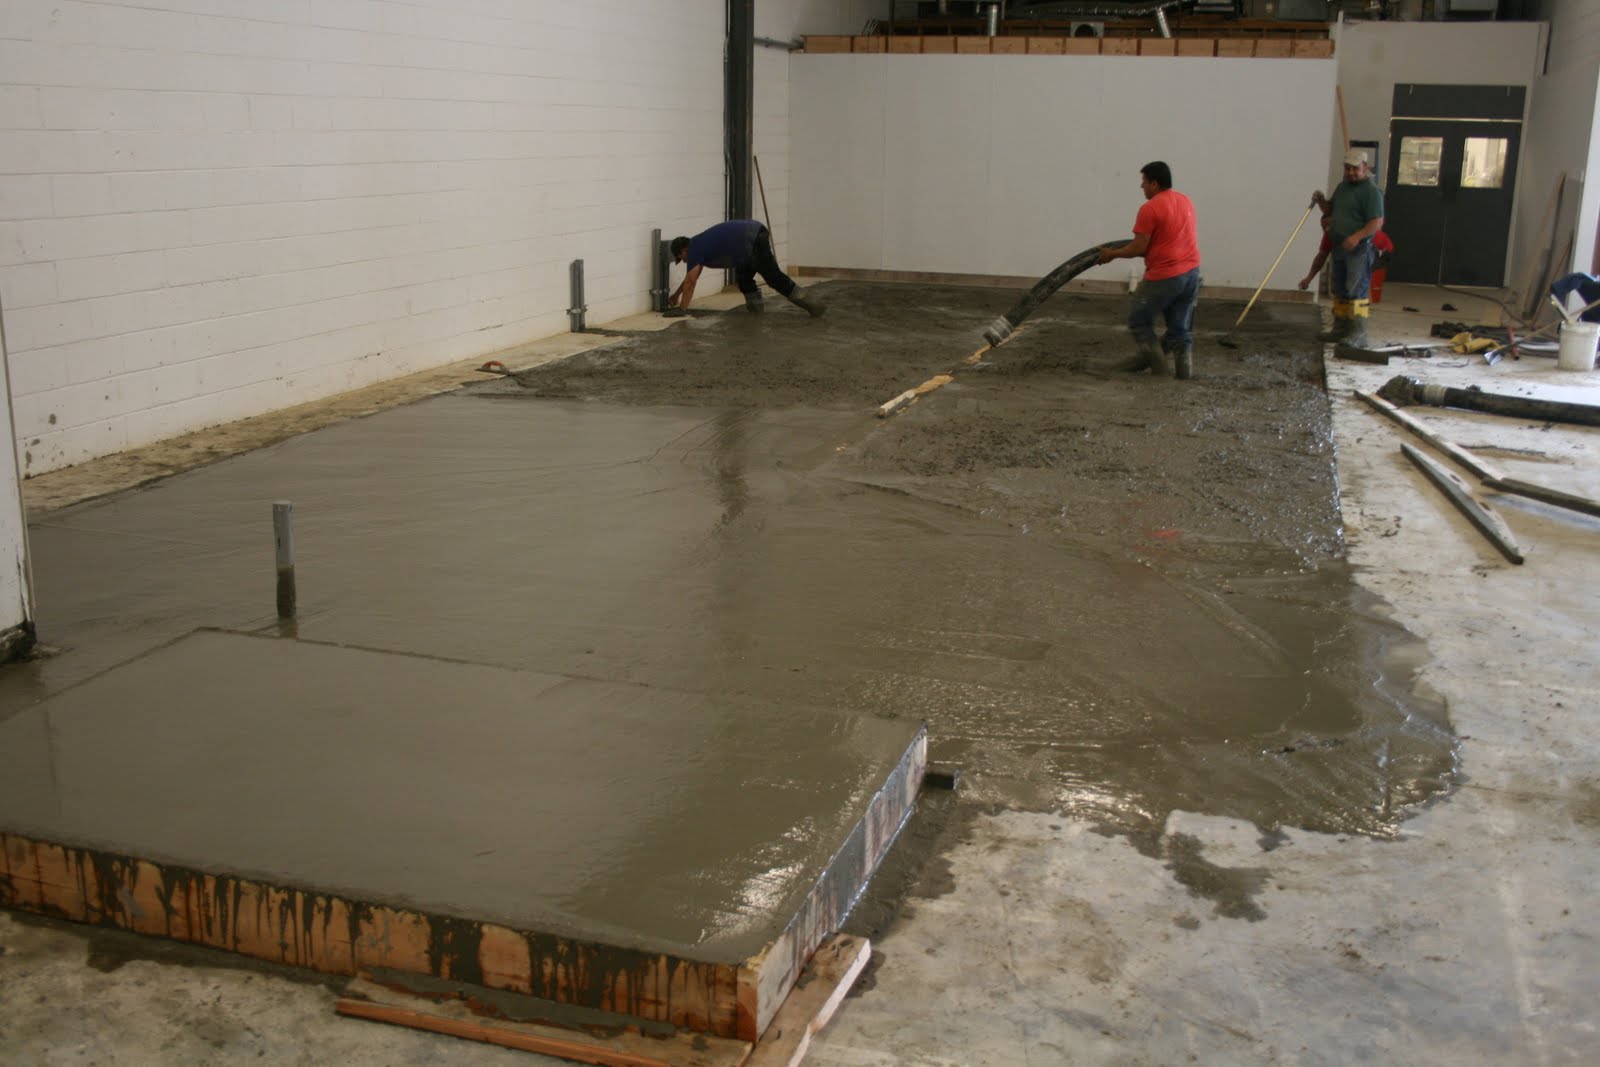
With the structural supports set and all inspections passed we were set to start pouring the new floor by 11:30 AM—of course the concrete truck was delayed and did get here until close to 3:00 pm.  On a side note, the owner of the concrete company quoted me the price based on some plans we emailed him but when he came by to review the site before starting the work he realized that a concrete pump was going to be needed to move the concrete from the trucks, through our loading area and on to the area where the new floor was being poured.  It changed the price but it wasn’t really a big deal.  Since we are so knowledgeable about all things construction we assumed it was some kind of small pump to move concrete.  In reality the concrete pump is a truck is the size of a fire engine with a gigantic arm that can move concrete hundreds of feet.  Not really what we expected.   


Once concrete trucks arrived the team started pouring and working the concrete to get the correct slope on all four sides.  It took about five hours of screeding and troweling to get the concrete to set up in the proper slope.  


After that the owner stayed behind to continue to go over the floor with a power trowel every few hours as it cured.  Once it was fully set he needed to score the new the new floor in three places.  The reason they cut the floor is that as the concrete cures it will shrink which causes cracks.  With the cuts in place any cracks that might happen will hopefully form against the cuts and protect the floor.  We took off around 11:00 pm and from what he said the next day, he was here until around 3:00 am by the time the floor had cured enough to make the cuts.